There is nothing as frustrating as losing a smartphone. Not to mention that our smartphones are no longer simply voice and text communication devices, but rather, repositories of our identity and bank card data.
This is why in case your phone gets stolen, you should have a plan on what to do in advance.

Fortunately, you can use Google’s “Find My Device” service for it. Here are the steps you have to follow to set it up so that you can have a sound mind knowing you are protected from viruses.
How to Set Up Google’s “Find My Device” With Images
Step 1: Ensure That You Are Logged In To Your Google Account
So the first step of these instructions is to make sure your Google account is activated and running on the device being used.
This will be the account which will be associated with the “Find My Device” service. To check, head over to your phone’s settings:To check, head over to your phone’s settings:
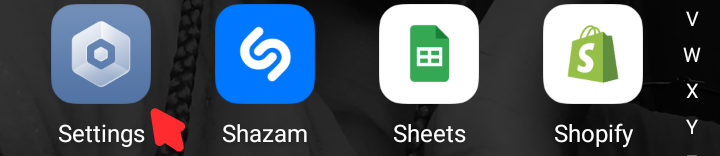
- Open the Settings App:

Go to the top toolbar and drag it downwards, the last icon on your screen is the gear icon that would lead you to the settings.
- Go to Accounts:
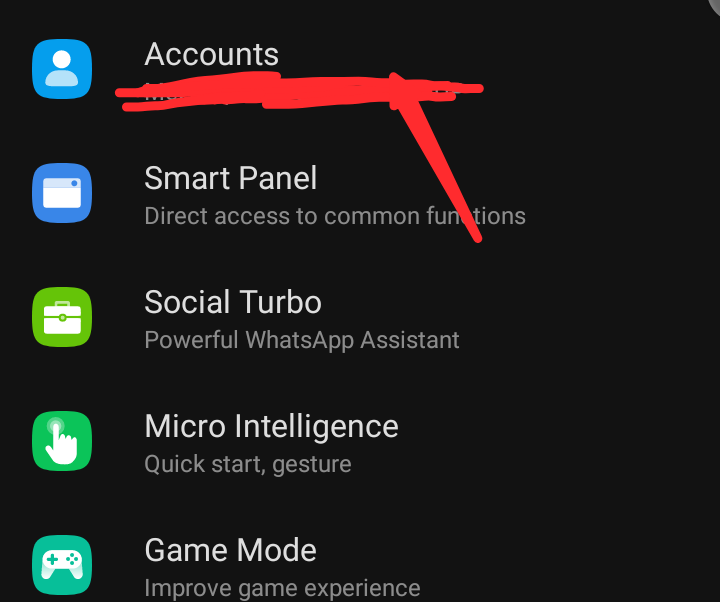
Scroll and tap next to “Accounts” or “Users & Accounts” based on the nature of your product Depending on which phone model you are using, scroll down and tap Accounts or Users & Accounts.
- Check Your Google Account: Ensure that you are logged in with the Google Account that you would wish to use in the “Find My Device.” In case you are not signed in, you will be directed to add the account.
Step 2: Install the “Find My Device” App (If Needed)
Nearly every Android phone has the application called “Find My Device” pre-installed; however, if for some reason you do not have it, you should know that it is freely available on Google Play.
- Open the Google Play Store:
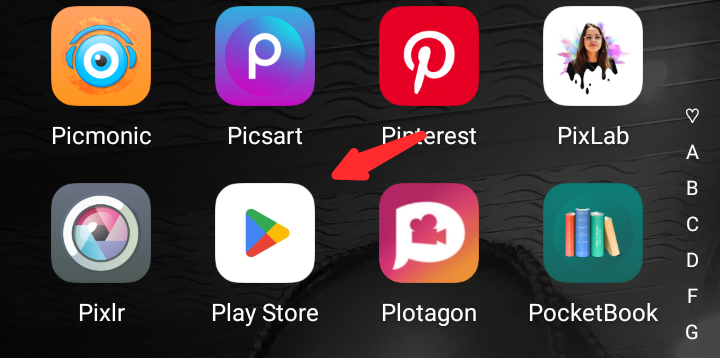
Press the icon of the Play Store either on the home screen or the app screen.
- Search for “Find My Device“:

Enter the search bar on an android device and search for ‘Find My Device’ then install the app by Google LLC.
- Install the App:

Select ‘Install’ and it will take some time to download the particular application. After installing the application, start the app.
Step 3: Find “Find My Device” option on Android’s settings and turn this feature on.
So, now you have the app, let’s check if the service is turned on your device or not.
- Open the Settings App Again:
Go back to your device’s settings from where you copy the path format.
- Go to Security:

Go down the menu and locate “Security” or “Security & Location. ” Click on it.
- Find My Device:

Especially, one has to make sure that the “Find My Device” service is active under the “i Cloud” option. If it is off, you will need to turn it on by switching it on if it is switched on.
- Location Access: Make sure that the location service on your phone is on. If you are going to use ‘Find My Device’ to trace phone places it is necessary to make this step for it works with the location data.
Step 4: Check The “Find My Device”
Assuming you have done that, it would be wise to check if the service is working by testing it every now and then.
- Visit the “Find My Device” Website: Take your computer or your other device and turn into the internet browser then type google. com/android/find.
- Sign In: It should be noted that you must use your Google account, which is connected with the phone.
- Locate Your Device: You have to choose the map where your phone is at the moment, it will probably be set by default. There are also possibilities to view options to call the connected phone, to lock it or even delete data on it.
Step 5: Understanding Your Options
When you access “Find My Device,” you have a few different options depending on your situation:
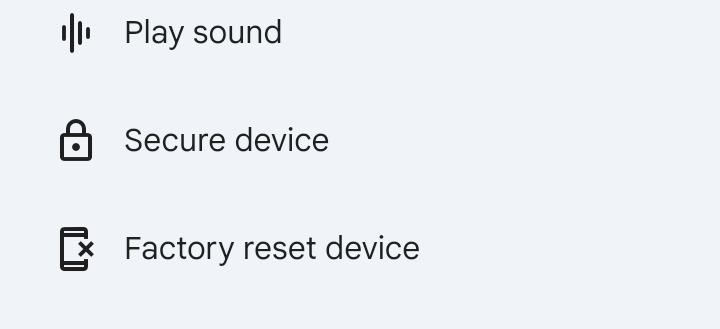
- Play Sound: In case you find yourself in a situation where you believe your phone is near you, but you actually cannot locate it, then use the ‘Find My Phone’ feature that includes the ‘Play Sound’ option. Notifies people if your phone is on silent by making it ring to the fullest.
- Secure Device: Should you be concerned over the loss or theft of your phone, there is the “Secure Device” feature.
This locks your phone and logs you off your Google account if the latter has been activated as well. It is also possible to leave a message on the lock screen together with your contact information.
- Erase Device: Finally, if you are very sure that you will not be able to recover your phone again, you can delete all contents on the phone. However, be careful with this option because they are permanent.
Step 6: Practical Advices for Your Phone Security
Setting up “Find My Device” is a great first step, but there are other ways you can protect your phone and data:
- Enable Two-Factor Authentication: Here is the information that can help make Google accounts more secure by incorporating an extra layer of protection.
- Use Strong Passwords: Please ensure that your device is protected by the right password, PIN or through biometric verification.
- Regular Backups: Ensure that your documents are saved to Google Drive or any other similar site so that in the event that you have to delete your device, you don’t lose your documents.
Conclusion
When you activate Google’s “Find My Device,” you are giving your smartphone a layer of protection that helps to prevent loss, theft or malicious acts using the precious information you hold in your gadget.
It is most basic and if your phone is ever stolen it saves you a lot of worry. That’s why you should take a few minutes right now to set it up and have peace of mind that you are ready!